:achoo: :sigh: Unfortunately this time of year reeks havoc on my seasonal allergies. Pollen finely dusts everything outside: the van, the lake water, even the kayaks on the trailer. Poor Jake and Cati aren't immune this spring. I guess they're growing up, huh? We're going through a lot of Zyrtec and tissues these days.
But it only slows us down a little.
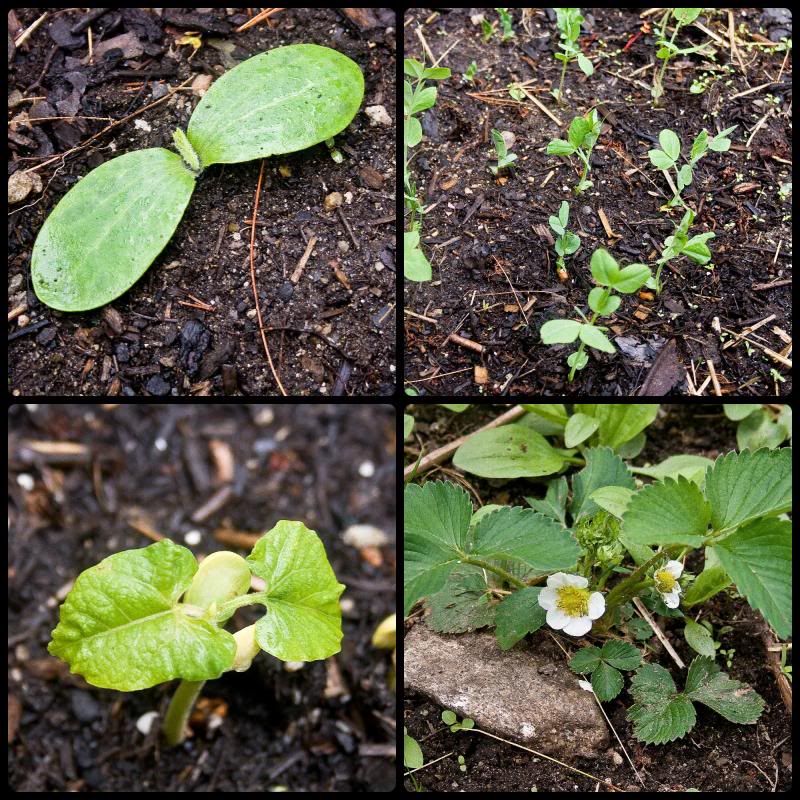
Our gardens are up and growing! The snow peas, peas, cucumbers, beans, and pumpkins have sprouted and are growing quite well. We're still waiting on the potatoes and carrots, and the tomatoes will be planted in another week or so (when temperatures will hopefully be warmer).
We plan our gardens with the "square foot" way. Have you heard of Square Foot Gardening? It's a less labor-intensive, raised bed method of gardening. Depending on the plant, a particular number of seeds or seedlings are planted in each square foot of garden space. I found this handy-dandy chart on Facebook last week to help plan sowing.
The graphic didn't help us with our garden this spring, but we're fortunate to have the book! :wink: Here's a video introducing this method by the guy who started SFG.
The basic premise of SFG is to build a 4' x 4' frame with weed cloth stapled to the bottom and filled with "Mel's mix", a combination of compost, vermiculite and peat, with a grid on top of 12" x 12" squares. Each square is planted with a particular number of seeds depending on the plants' space needs. SFG is less labor-intensive and less wasteful (as it uses less space and less water).
You don't need to follow the method EXACTLY. We're repurposed platform bed frames, door frames and even bureau drawers (with holes drilled in the bottoms for drainage) as SFG frames. None are the 4'x4' size, but still manageable...and I didn't have to buy materials or build the frames. Reuse, right?
Another idea is to purchase concrete or cinder blocks from a home improvement center or building company. They're quite inexpensive, can be painted pretty colors and will certainly last a while. And you can fill those small holes around the edges with easy-to-grow annuals. This blog has a great tutorial to build one of these raised beds and the kids at All Things Beautiful created one here.
 |
| Photo Credit |
Tip: Don't worry about purchasing weed cloth or barrier cloth for the bottoms of SFGs. Line the ground beneath the frame with newspaper or cardboard then fill with your soil mixture. The newspaper or cardboard will kill the grass and weeds, but will decompose over time.
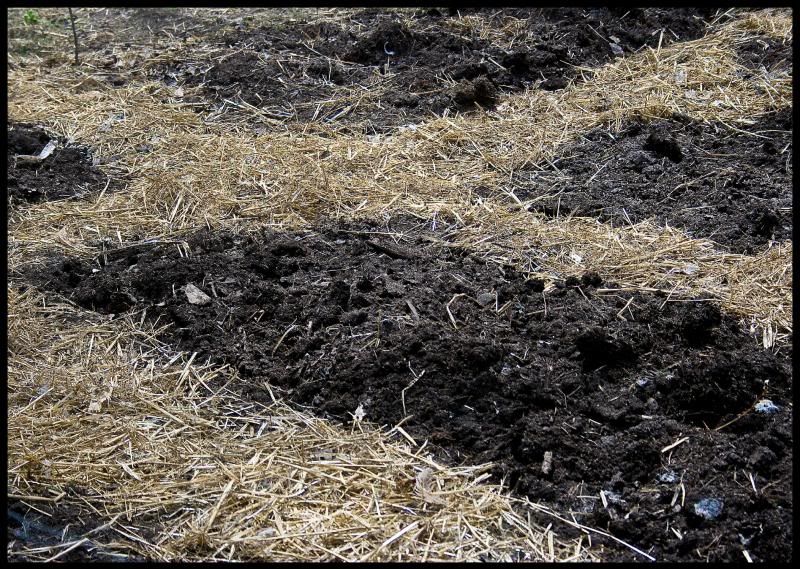
And in our experience, you don't even need the boxes to follow the SF PLANTING method. :wink: We planned our 22x14 IN GROUND garden with small rectangular areas divided by hay-lined walkways. We used sticks to draw out square foot sections in the soil and planted seeds based on the number suggested in the graphic above.
Really, a simple, quick, inexpensive way to garden!
Really, a simple, quick, inexpensive way to garden!


Sound great. Our soil doesn't look as good as yours, but I do hope that after this fall and winter, we will have a pretty good plot to deal with in the spring. How much total garden growing space do you have? How much soil and other stuff did you buy to fill it?
ReplyDeleteWe have a rototilled garden that is 22x14 (approximately). We added compost last year to the existing soil as well as chicken fertilizer, mulched grass and leaves from last fall, and additional potting soil (in the 50# bags) this year. We also have a 12x6 and 6x3 SFGs that we filled years ago, but continue to add additional compost, potting soil and fertilizer too.
DeleteLooks great! My husband is the gardener in the family. I'm going to pass on this info to him! He built raised beds last year. He made 2 of them 2 ft high so he doesn't have to bend down so far! Hope your allergies subside soon. Thanks for sharing at FF!
ReplyDelete